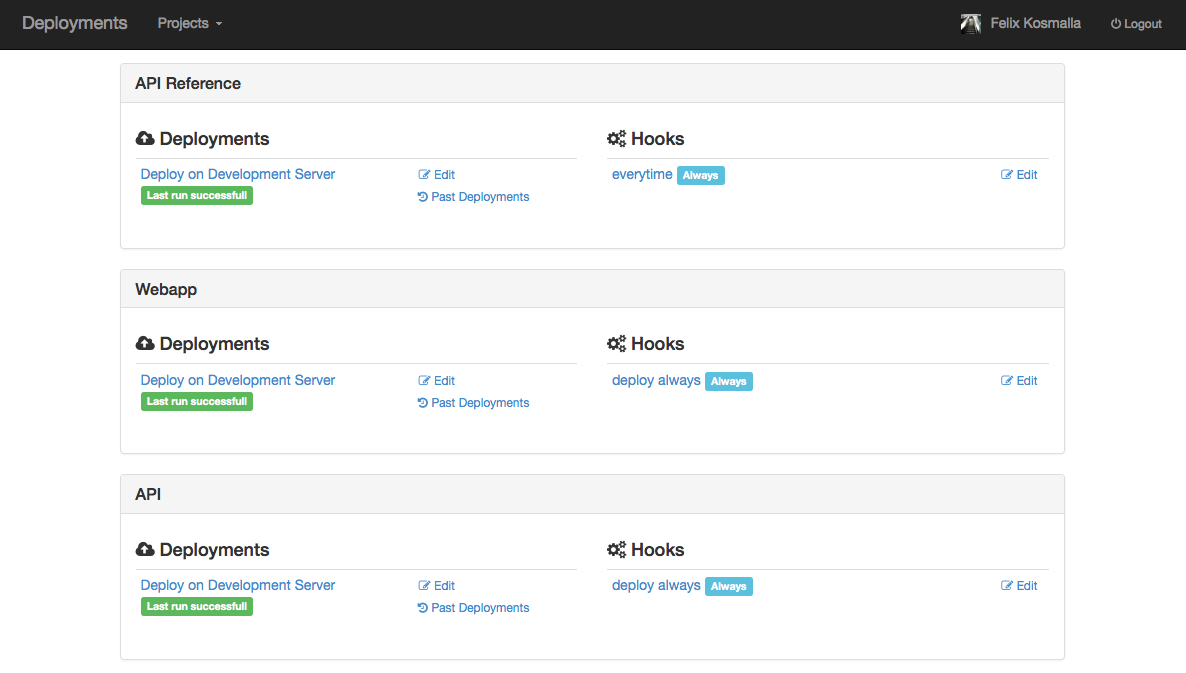
GitPloy enables you to build your own self-contained versioning and deployment system. Backed by Django, it seamlessly integrates with your GitLab installation and allows you to host your repositories and push changes directly to your staging or production servers, either via remote execution of shell scripts or FTP synchronization. GitPloy is inspired by Beanstalk.
Since GitPloy runs with Django, the setup follows the standard steps like a normal Django installation. I made good experiences with a stack of nginx, supervisor, and gunicorn.
The following instruction is written for Ubuntu, but I'm sure it is very similar to other Linux distributions.
- Installing the stack
Install gitlab following this instruction. https://github.com/gitlabhq/gitlabhq/blob/master/doc/install/installation.md
Install nginx
sudo apt-get install nginx
Install the python-dev package
sudo apt-get install python-dev
Install PIP, the package manager for python. Read the original instruction
mkdir downloads
wget https://bootstrap.pypa.io/get-pip.py
sudo python get-pip.py
Install supervisor and virtualenv
sudo apt-get install supervisor
sudo pip install virtualenv
- Create a System User
Ok, you have the basics now, let's create a system user and a ssh key. Chose the default settings for the ssh key.
sudo adduser --disabled-login --gecos 'GitPloy' gitploy
sudo su gitploy
ssh-keygen -t rsa
We also need to disable host-key checking for your repository machine.
echo -e "Host git.YOUR_COMPANY.org\n\tStrictHostKeyChecking no\n" >> ~/.ssh/config
- Get the Latest GitPloy
We store all the GitPloy files in our new user's home directory
cd ~
mkdir gitploy
cd gitploy

git clone https://github.com/felixkosmalla/gitploy.git .
git checkout 1-0-stable
- Create a Virtual Environment and Activate it
cd ~
virtualenv env
source env/bin/activate
- Install the Requirements
Your virtual environment still has to be activated
cd ~
cd gitploy
pip install --pre -r requirements.txt
- Install a Database
If you want, you can install a database like Postgres or MySQL but you can also run the installation on Sqlite which is the default setting. For this you have to do nothing.
TODO: Postgres installation
- Edit You Local Settings
cd ~
cd gitploy
cd gitlab_deployment
cp settings_local_template.py settings_local.py
editor settings_local.py
You can find out your public key by doing
cat ~/.ssh/id_rsa.pub
- Create Some Directories
cd ~
mkdir repositories
mkdir document_root
mkdir document_root/static
mkdir logs

touch logs/supervisor.log
touch logs/supervisor_stdout.log
touch logs/supervisor_stderr.log
touch logs/nginx_access.log
touch logs/nginx_error.log
- Setup your Database and Static Files
cd ~
cd gitploy
./manage.py syncdb
./manage.py migrate
./manage.py collectstatic --noinput
- Test your Django Installation
Wow, halfway done. Let's see if everything went right so far.
./manage.py runserver 0.0.0.0:8000
You see something that is not an error page? Good job, let's continue!
- Configure Nginx
Find the line where it says server_name and change that according to the desired URL of your gitploy installation. We than create a symlink to the sites configuration of nginx.
cd ~
editor gitploy/server_conf/gitploy_nginx
We need to do this as sudo, so exit from the user gitploy and create some symlinks.
exit
sudo ln -s /home/gitploy/gitploy/server_conf/gitploy_nginx /etc/nginx/sites-available/
sudo ln -s /etc/nginx/sites-available/gitploy_nginx /etc/nginx/sites-enabled/
Restart nginx
sudo service nginx restart
You may have to uncomment server_names_hash_bucket_size 64
editor /etc/nginx/nginx.conf
- Configure Supervisor
Create a symlink to the supervisor configuration.
sudo ln -s /home/gitploy/gitploy/server_conf/gitploy_supervisor.conf /etc/supervisor/conf.d/
Restart supervisor
sudo service supervisor restart
- Done!
Congrats! Your installation should now be up and running. Happy Deploying!
You want to contribute? Awesome! Fork this repository and do a pull request.
Just follow steps 0) and 2) - 9) and you are ready to go.
